Practice 2' × 2' ceiling layout math at your own pace, then switch to Arcade Mode when you're ready for timed rooms, official scores, and the leaderboard.
PRACTICE MODETraining Mode
Take your time, retry mistakes, and use hints when you need them.
Correct0
Streak0
Best streak0
Time—sec
ROOM
Challenge 1
East–West—
North–South—
CENTER CONDITION
Read both directions before solving A and B.
E–WTILE CENTER
N–STILE CENTER
START NWMain runners stay North–South.
Fractions or decimals both work: 10 1/2 or 10.5.
REFLECTED CEILING PLAN
Find A and B.
2' × 2'
ROOM—
E–W —N–S —
WHOLE INCHESTap A or B, then enter inches.
FRACTIONWhole or 1/2" only
A
—North wall → first rout hole / slot
B
—West wall → nearest first main runner
A North wall to first rout hole / slotB West wall to nearest first main runner
A starts at the North wall and B starts at the West wall. Before you answer, the marks show direction only. Submit your answer to reveal the actual grid and starting location.
ARCADE RUN OVER
Nice run.
One miss ends an official run. Study the room, then go again when you're ready.
Score0
Rooms solved 0Best 0
GEAR FROM THE FIELD
Ceiling gear I actually use.
Three tools I constantly reach for on ACT layout and ceiling tile work.
Mr. BidSimpApproved
Affiliate disclosure: BidSimp may earn a commission from qualifying purchases made through the Amazon links below, at no additional cost to you. Learn more.
THE ONLY TAPE I USE
STANLEY FATMAX Tape Measure (30-Foot)
The tape I reach for on layouts and tile work. The numbers, balance, size, and feel just work for me.
Training aid: This trainer practices simplified 2' × 2' starting-layout math. Actual project layout is controlled by the project RCP, specifications, fixture coordination, selected suspension system, manufacturer instructions, field conditions, and applicable requirements. Terms & Disclaimer
CEILING LAYOUT PRACTICE GUIDE
Turn a centered ceiling plan into two starting dimensions.
The trainer fixes the main runners north-south and the start corner at the northwest so the only challenge is the layout math. For each random room, enter A from the north wall to the first rout hole or slot and B from the west wall to the nearest valid main runner. Practice untimed in Training Mode, then switch to Arcade Mode when you want a 60-second competitive run.
DIMENSION ANorth wall to the first rout hole
Solve the north-south tile or grid-line center condition and carry the first 2-foot module from the north wall.
DIMENSION BWest wall to the first main
Solve the east-west center condition, then identify the nearest north-south main runner from the west wall.
AFTER THE ANSWERUse the reveal, not only the score
The finished grid shows why A and B work. Study the border cuts and center condition before starting the next room.
A repeatable way to solve each room
Read the east-west and north-south room dimensions separately.
Identify whether each direction calls for a tile center or grid-line center.
For each direction, fit full 24-inch modules, split the leftover, and apply the 12-inch center-condition shift only when needed.
Use the north-south solution for A because A locates the first rout hole from the north wall.
Use the east-west solution for B because the mains run north-south and their locations are measured from the west wall.
Check the revealed plan and make sure the opposite borders match.
Direction is part of the problem. The same border number can mean a rout-hole location in one direction and a main-runner location in the other. Read the A and B labels before entering the values.
PRACTICE HABIT
Slow down before trying to get fast
Use Training Mode for several rooms without worrying about the clock.
Say the sequence out loud: full modules, leftover, divide by two, odd or even, shift if required.
After each answer, compare your mental grid with the revealed plan.
Only switch to Arcade Mode after you can explain why both starting dimensions are correct.
Speed becomes useful after the center-condition logic is automatic. Fast guessing only rehearses the wrong method.
Common mistakes
Using the east-west border for A or the north-south border for B.
Forgetting that the trainer's mains always run north-south.
Choosing a farther main when the prompt asks for the nearest valid main.
Changing both directions because only one center condition needs to flip.
Field conditions not simulated
Irregular rooms, offsets, soffits, clouds, and angled walls.
Fixture, diffuser, sprinkler, access-panel, and partition coordination.
Actual hanger layout, seismic requirements, and manufacturer details.
Out-of-square walls and plan dimensions that do not match the field.

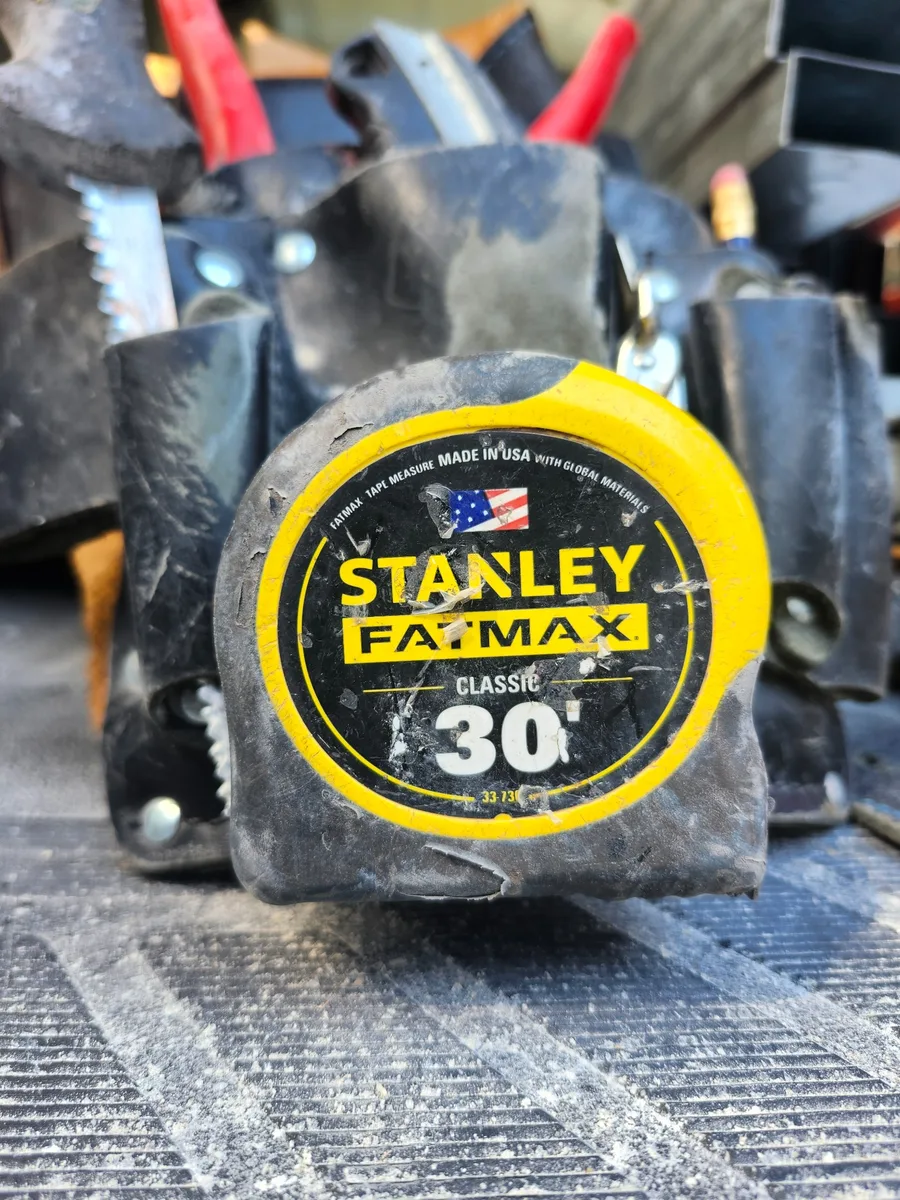 THE ONLY TAPE I USE
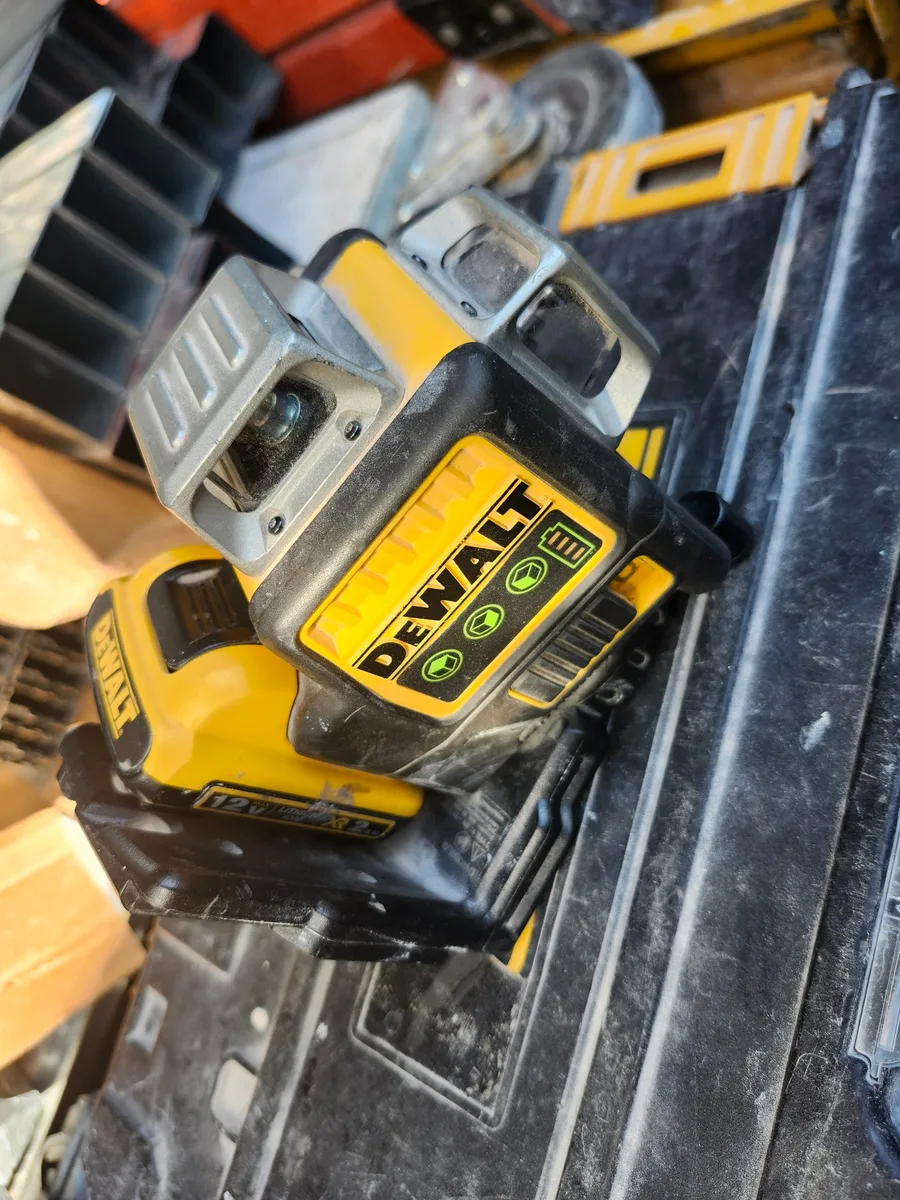 THE ONLY LASER I USE
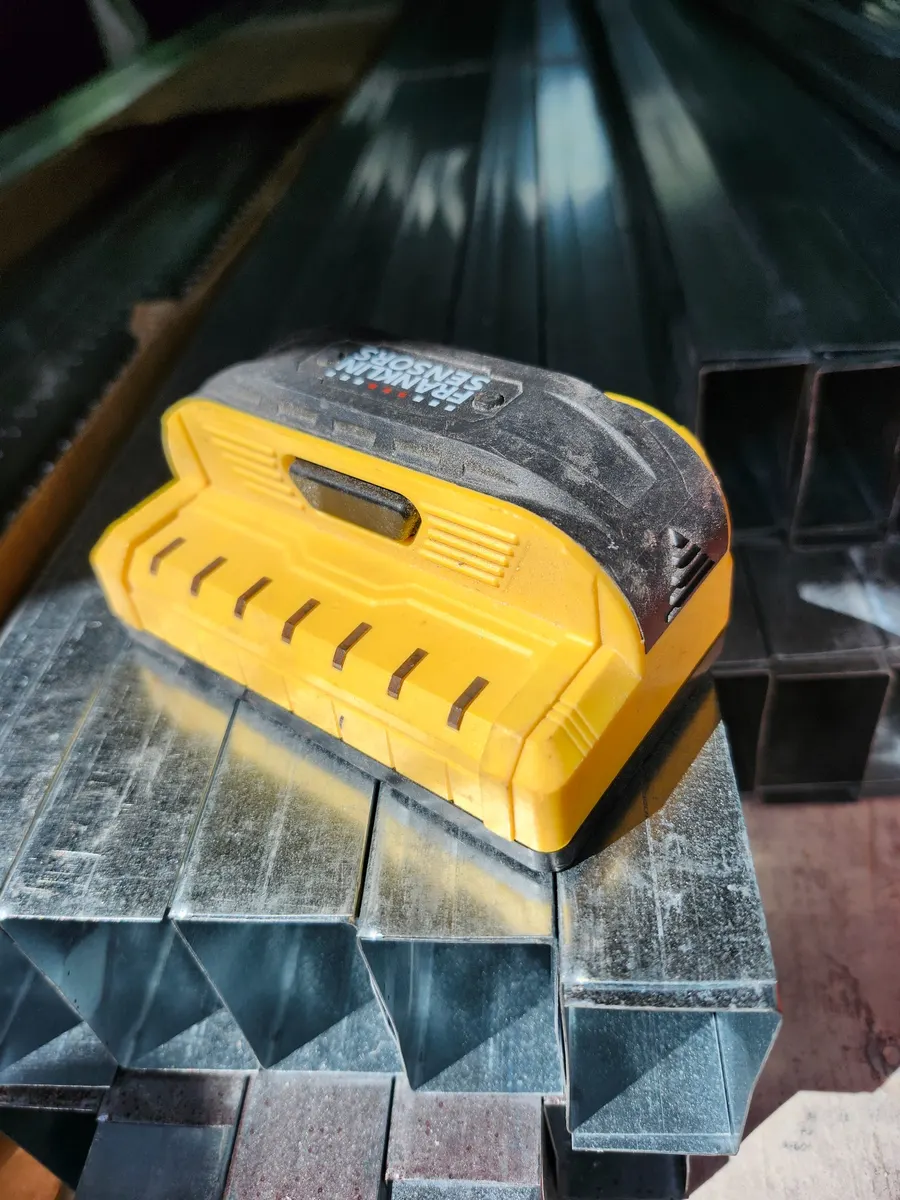 FIND THE STUD